Create Easily Canvas in 'shiny' and 'RMarkdown' Documents.
fabricerin
The fabricerin (spelled fabrikerine) package allows you to create easily canvas elements within your Shiny app and RMarkdown documents. Thanks to Garrick Aden-Buie, you can also use it within your xaringan slides. You can use the canvas to render shapes, images and text. You can also create a canvas for drawing/taking notes purposes. Under the hoods, fabricerin relies on the the fabricjs JavaScript library.
Installation
You can install the development version from GitHub with:
# install.packages("remotes")

remotes::install_github("feddelegrand7/fabricerin")
Examples:
First of all, I’d like to state that all the example provided apply the same way to Shiny and Rmd documents (in Rmd use the functions directely (e.g. without wrapping them inside fluidPage()). Note thatfabricerin is not an R wrapper for the fabricjs library in the sense that it doesn’t cover all the capabilities of the library. The fabricerin package relies only on some specified features that according to me will help Shiny/Rmd users. Of course, if you need some improvement, feel free to create a Pull Request.
fabric_drawing(): Create a canvas for taking notes
library(shiny)
library(fabricerin)


ui <- fluidPage(


  fabric_drawing(cid = "canvas123")

)

server <- function(input, output){}

shinyApp(ui, server)

fabric_shape(): Render shape objects in canvas
Currently, fabricerin supports three types of shapes: Rectangle, Triangle, Circle and Polygon. The user can interact with the shape and modify its position, size and rotation. If you want to disable this interactivity, you can set selectable =FALSE
library(shiny)
library(fabricerin)


ui <- fluidPage(


  fabric_shape(cid = "canvaId", # canvas id
               cfill = "orange", # canvas color
               cwidth = 800, # the width of the canvas
               cheight = 600, # the height of the canvas
               shapeId = "shapeId", # shape id
               shape = "Rect",
               fill = "red", # shape color
               width = 400,
               height = 400,
               left = 100, # the position of the shape from the left relative to the canvas
               top = 100, # the position of the shape from the top relative to the canvas
               strokecolor = "darkblue",
               strokewidth = 5,
               selectable = TRUE)

)

server <- function(input, output){}

shinyApp(ui, server)
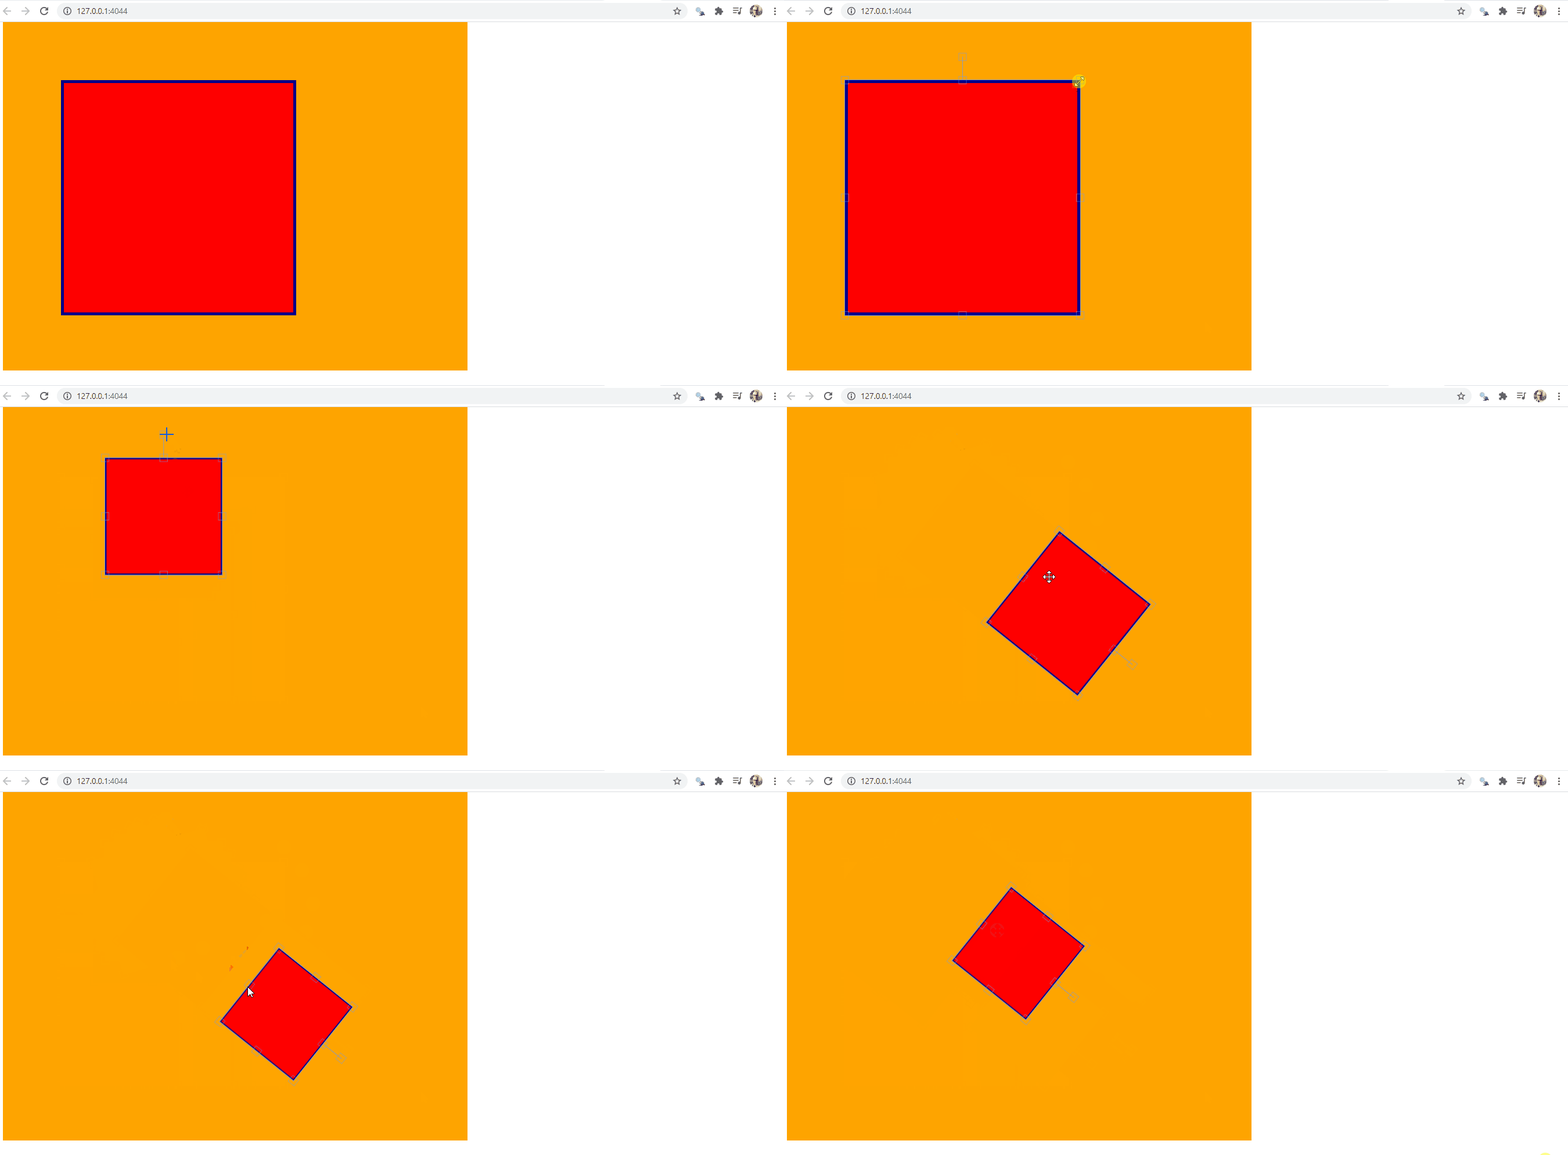
You can add as many shape as you want to an existing canvas using the fabric_shape_add() function. Don’t forget to reference the preexisting canvas with its ID:
library(shiny)
library(fabricerin)


ui <- fluidPage(


  fabric_shape(cid = "canvaId",
               shapeId = "cr1",
               shape = "Circle",
               radius = 30,
               left = 100),

  fabric_shape_add(cid = "canvaId",
                   shapeId = "cr2",
                   shape = "Circle",
                   radius = 30,
                   left = 200),

  fabric_shape_add(cid = "canvaId",
                   shapeId = "cr3",
                   shape = "Circle",
                   radius = 30,
                   left = 300),

  fabric_shape_add(cid = "canvaId",
                   shapeId = "cr4",
                   shape = "Circle",
                   radius = 30,
                   left = 400)

)

server <- function(input, output){}

shinyApp(ui, server)

fabric_image(): Render images in canvas
You can insert an image within a canvas a play with it using the fabric_image() function. Note that this function accepts only URL external images.
ui <- fluidPage(

fabric_image(cid = "cimage",
              cfill = "lightblue",
              imgId = "Rimg",
              imgsrc = "https://upload.wikimedia.org/wikipedia/commons/thumb/1/1b/R_logo.svg/724px-R_logo.svg.png")

              )

server <- function(input, output) {}


shinyApp(ui = ui, server = server)
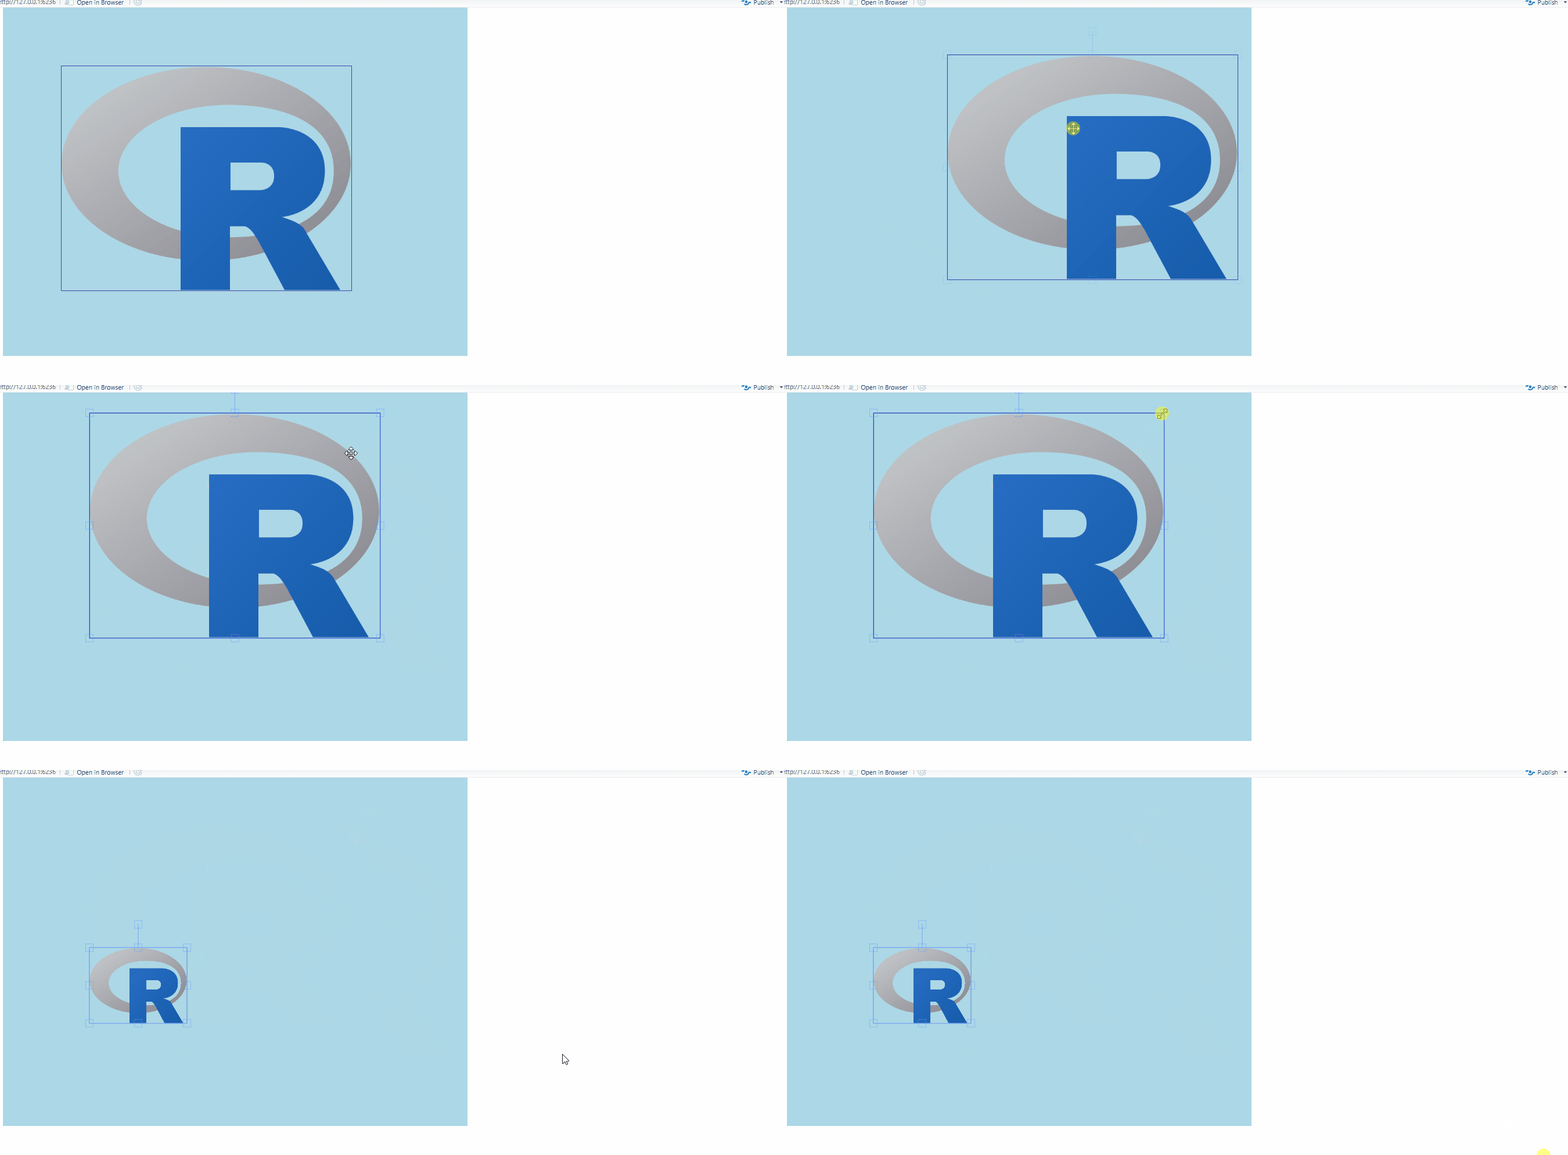
Similar to shapes, you can add images to preexisting canvas using the fabric_image_add() function:
library(shiny)
library(fabricerin)

ui <- fluidPage(

 fabric_image(cid = "cimage",
              imgId = "Rimg",
              imgsrc = "https://upload.wikimedia.org/wikipedia/commons/thumb/1/1b/R_logo.svg/724px-R_logo.svg.png",
              imgheight = 200,
              imgwidth = 200),
 fabric_image_add(cid = "cimage",
                  imgId = "rstudioimg",
                  imgsrc = "https://raw.githubusercontent.com/rstudio/hex-stickers/master/PNG/dplyr.png",
                  imgwidth = 200,
                  imgheight = 200,
                  left = 400)
                  )

server <- function(input, output) {}

shinyApp(ui = ui, server = server)
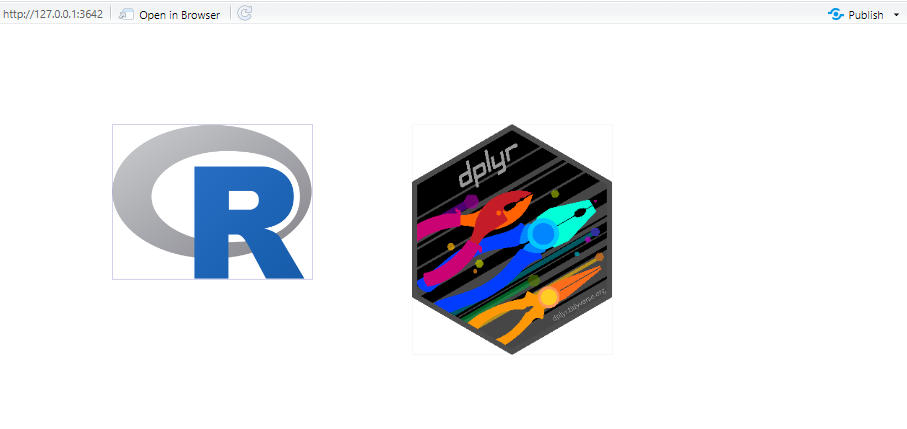
fabric_text(): Render text elements in canvas
The fabric_text() function has many arguments, feel free to check them out:
ui <- fluidPage(

fabric_text(cid = "cId",
          textId = "text",
          text = " 'But A Hero Is A Guy Who Gives Out The Meat To Everyone Else. \\n I Want To Eat The Damn Meat!' \\n Monkey D. Luffy",
          cfill = "#DD5347",
          left = 120,
          shadowCol = "blue",
          fontSize = 20,
          fontWeight = "bold",
          lineHeight = 3
          )
)
server <- function(input, output) {}

shinyApp(ui = ui, server = server)
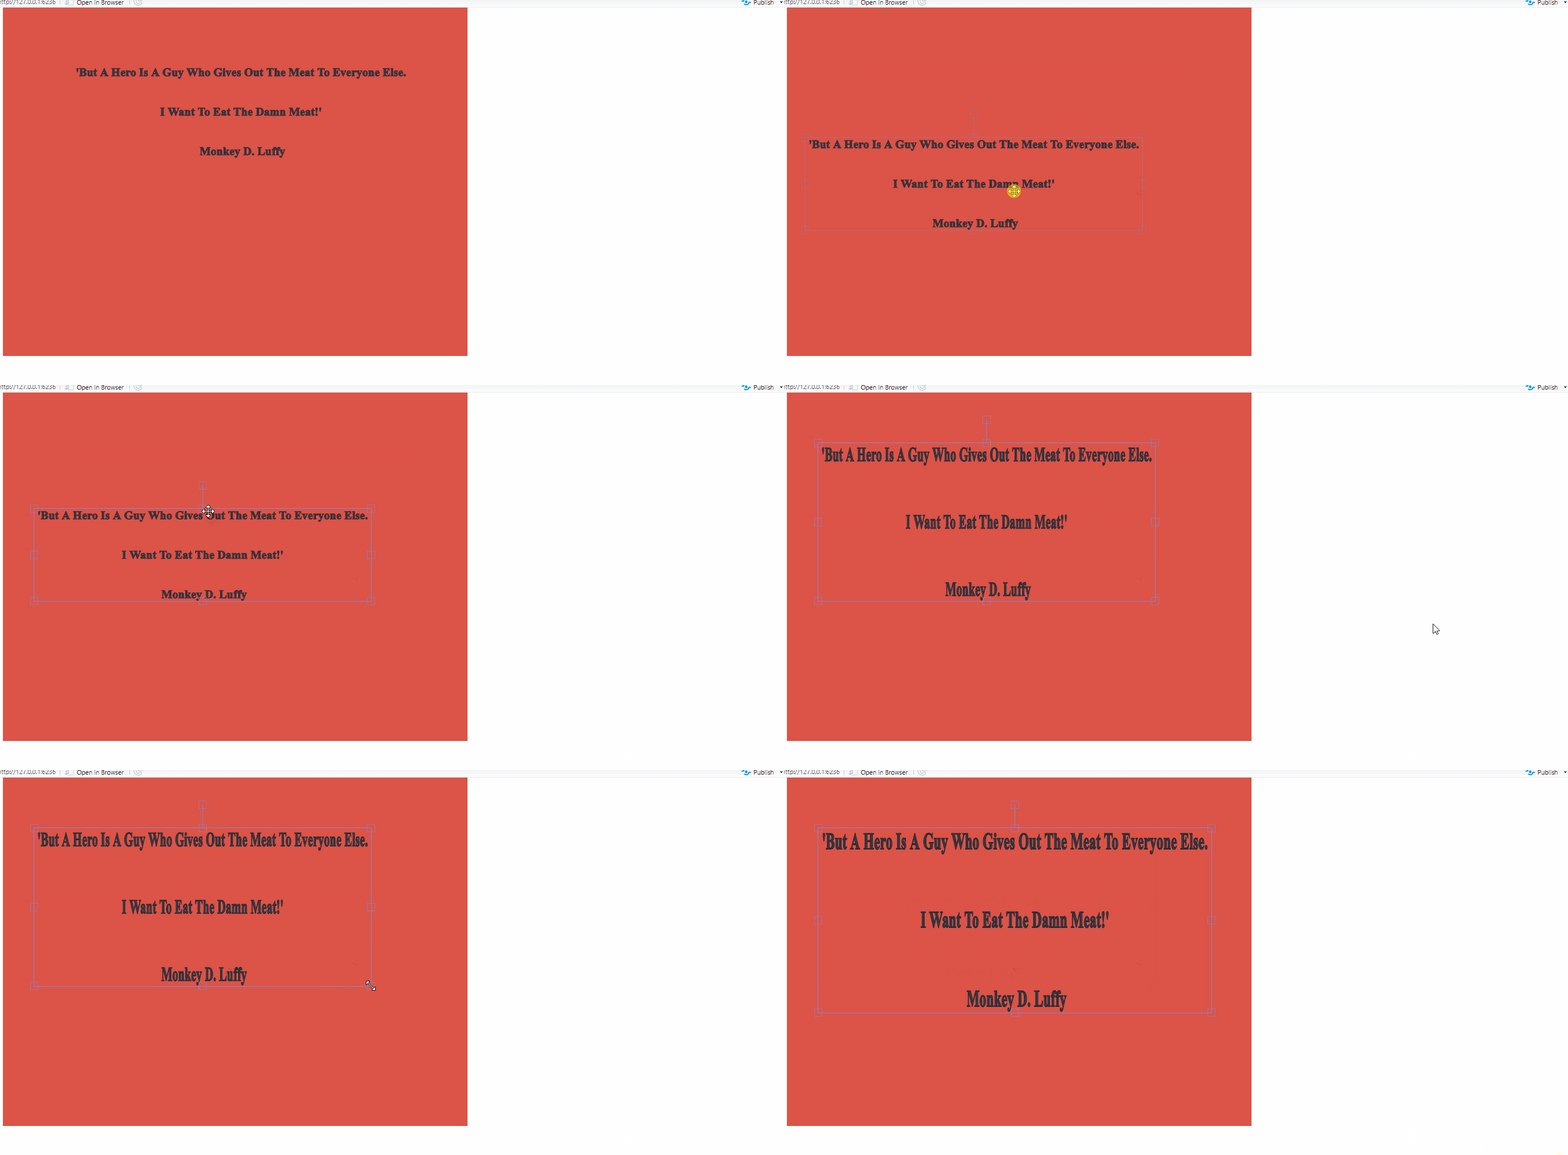
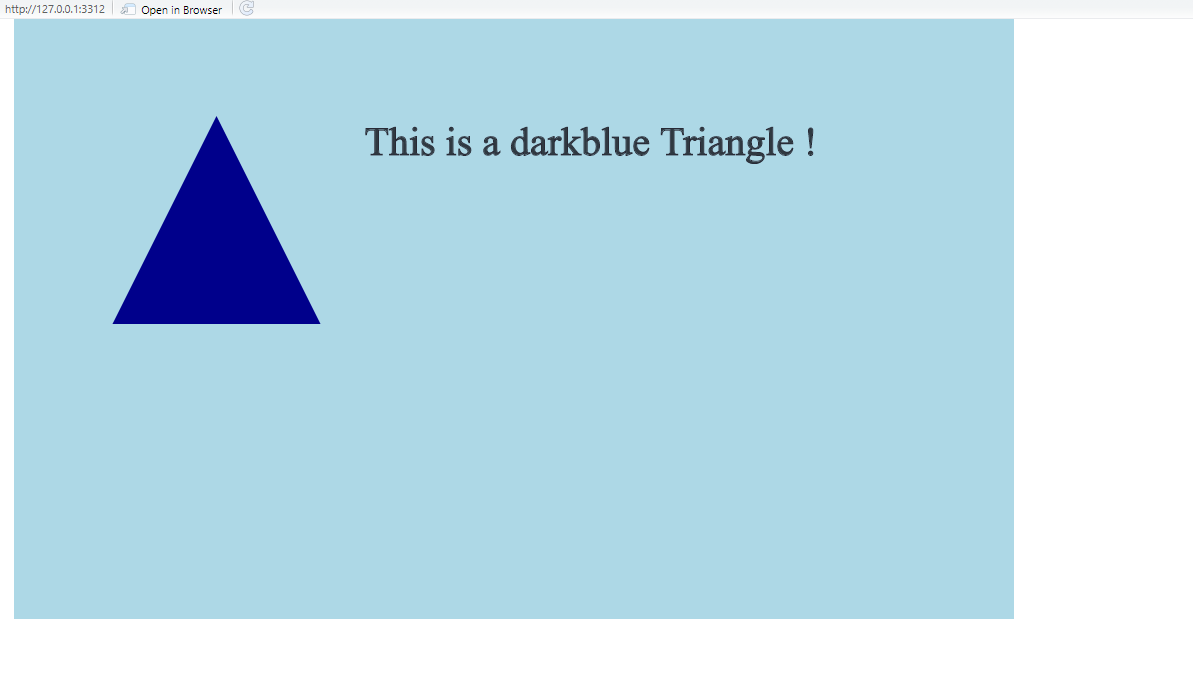
Here also, we can use the fabric_text_add() function to incorporate a text object within a canvas element:
library(shiny)
library(fabricerin)


ui <- fluidPage(

fabric_shape(cid = "canvas123",
              cfill = "lightblue",
              cwidth = 1000,
              shapeId = "tri1",
              shape = "Triangle",
              fill = "darkblue"),

fabric_text_add(cid = "canvas123",
                 textId = "txt1",
                 text = "This is a darkblue Triangle !",
                 left = 350
                 )

                 )

server <- function(input, output) {}

shinyApp(ui = ui, server = server)
fabric_curtail(): Add a background or an overlay image to a canvas
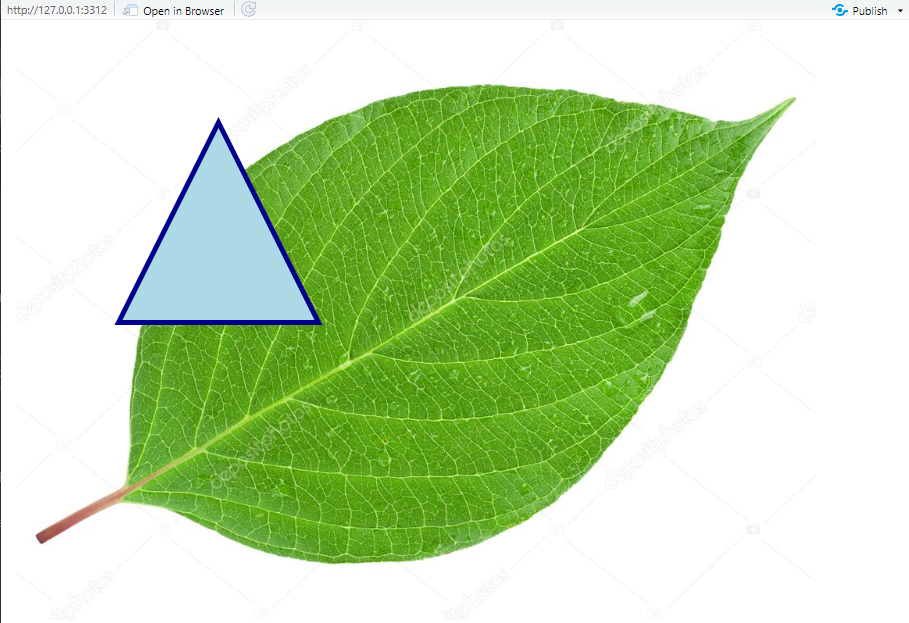
You can set an image as a background or as a foreground (overlay) for a canvas as follows:
ui <- fluidPage(

 fabric_shape(cid = "canvas123",
              shapeId = "tri1",
              shape = "Triangle",
              fill = "lightblue"),

fabric_curtail(cid = "canvas123",
              imgsrc = "https://st.depositphotos.com/1642482/1904/i/950/depositphotos_19049237-stock-photo-leaf.jpg",
              type = "background"

              )

)

server <- function(input, output) {}


shinyApp(ui = ui, server = server)
Code of Conduct
Please note that the fabricerin project is released with a Contributor Code of Conduct. By contributing to this project, you agree to abide by its terms.