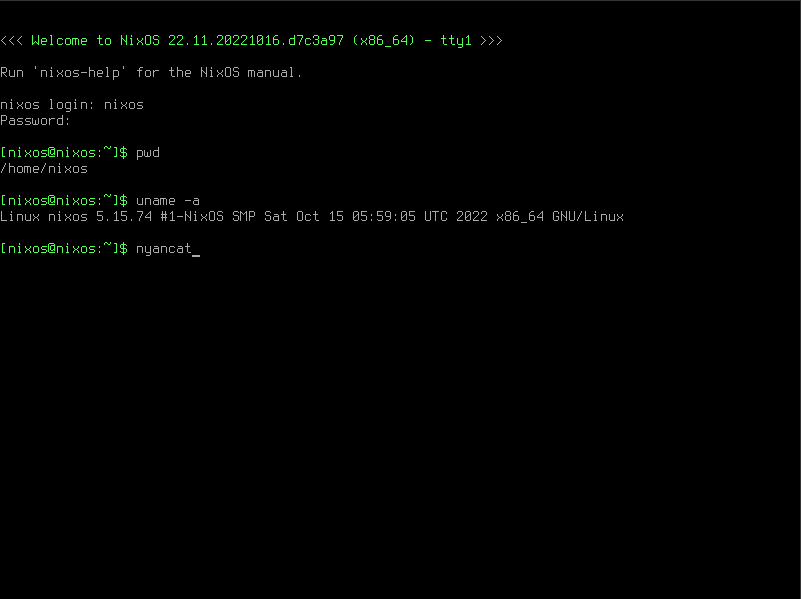
NixOS generate
NixOS generate is a flake output which allows generating different target formats from NixOS configurations.
The output type is implemented in nixos-generators which documents the available formats.
How to use NixOS generate
Step 1 - Create your flake
Create a flake by signing in to MyNixOS, and then navigate to the create flake page.
On the flake create screen, enter an appropriate name, then click "create".
You should now see the name of your flake in the flake selector to the upper right on your screen.
A flake is a software configuration unit specific to the language Nix.
Each flake has a set of inputs and outputs. The NixOS generate will describe an output in your flake. Note that your flake can have many outputs of different types at the same time. The inputs of your flake are locked to exact versions when you release your flake, which makes your configuration reproducible.
Step 2 - Create a NixOS generate output
- Navigate to the flake outputs screen by clicking the flake selector to the top right of the screen, then select "Outputs" to the left on the flake screen.
- From the flake outputs screen, select "Add output" → "NixOS generate".
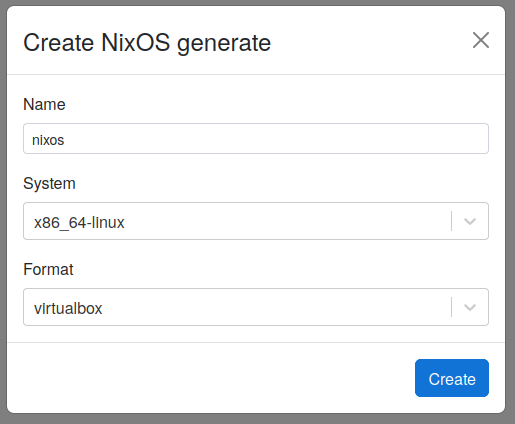
- In the "NixOS generate" dialog, select a name, your target system, and target format, then click "Create".
In this example, we selectx86_64-linuxas the system andvirtualboxas the format.
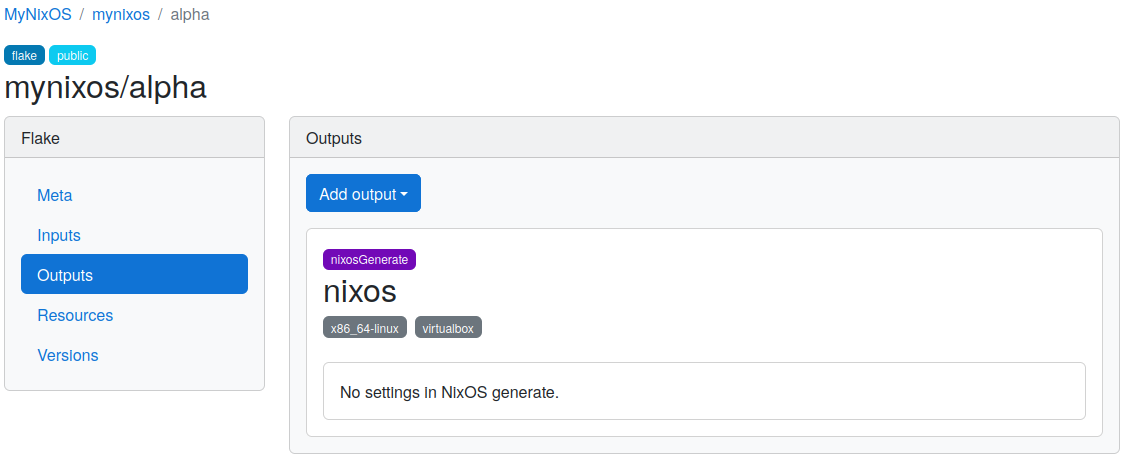
Your NixOS generate should now be shown as an output in the flake output screen.
Step 3 - Configure the NixOS generate output
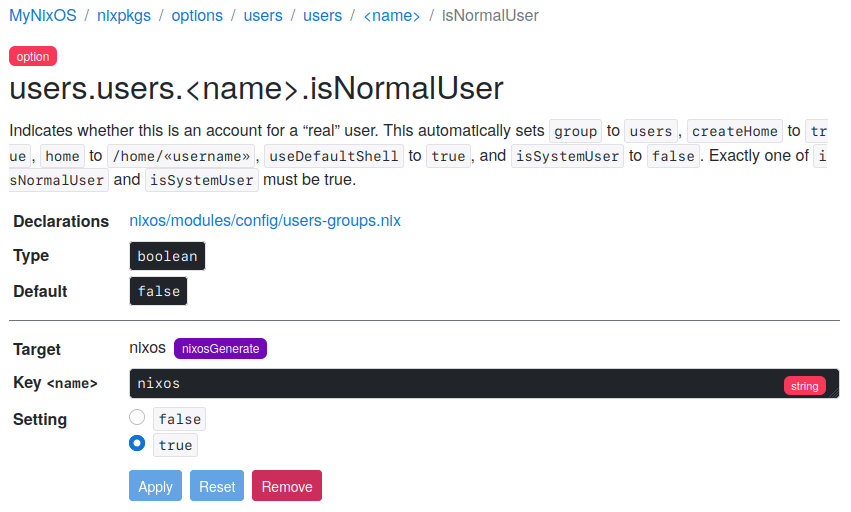
As part of our configuration, we will add the following settings to the NixOS generate:
- Set
users.users.<name>.isNormalUsertotruefor the keynixos.
This will enable a user account with usernamenixos. - Set
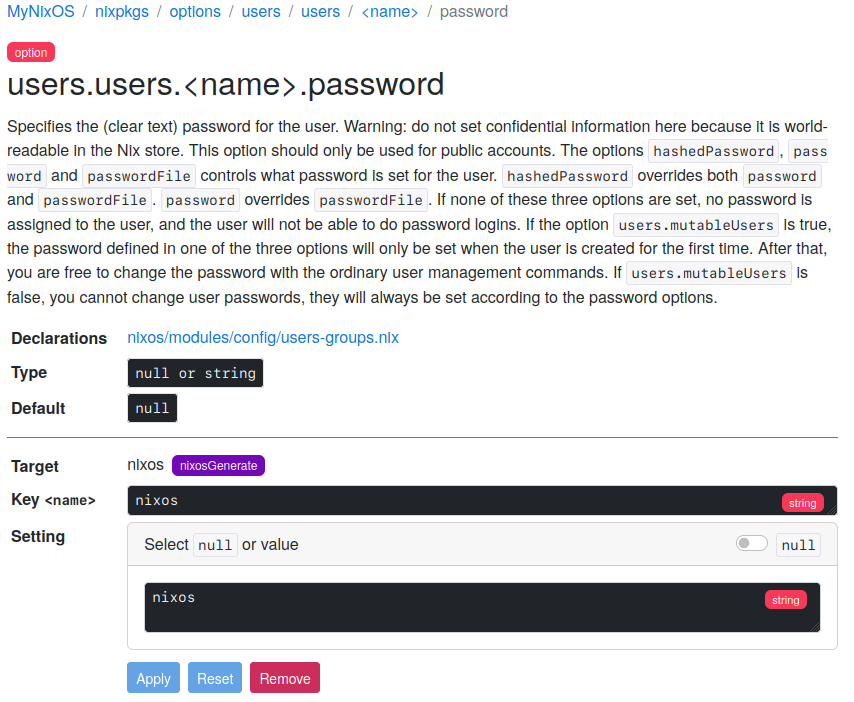
users.users.<name>.passwordtonixosfor the keynixos.
This will set the password for thenixosuser tonixos. - Add the
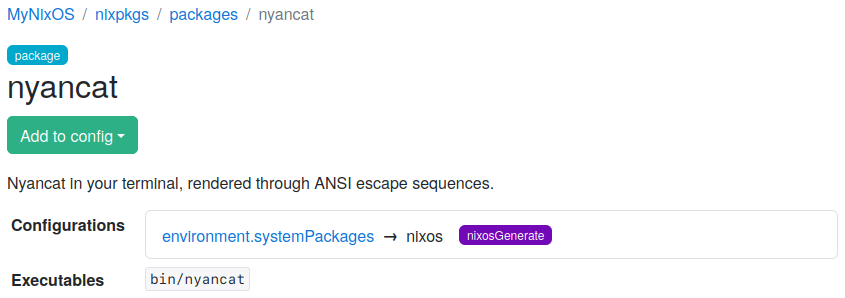
nyancatpackage to the configuration.
This will make thenyancatavailable as a system package in our configuration.
Never configure sensitive passwords in plaintext.
Instead, use the users.users.<name>.hashedPassword option with a hash of a password with sufficient entropy.
Step 4 - Create the NixOS generate artifact
After completing our flake configuration, we can now create the NixOS generate artifact.
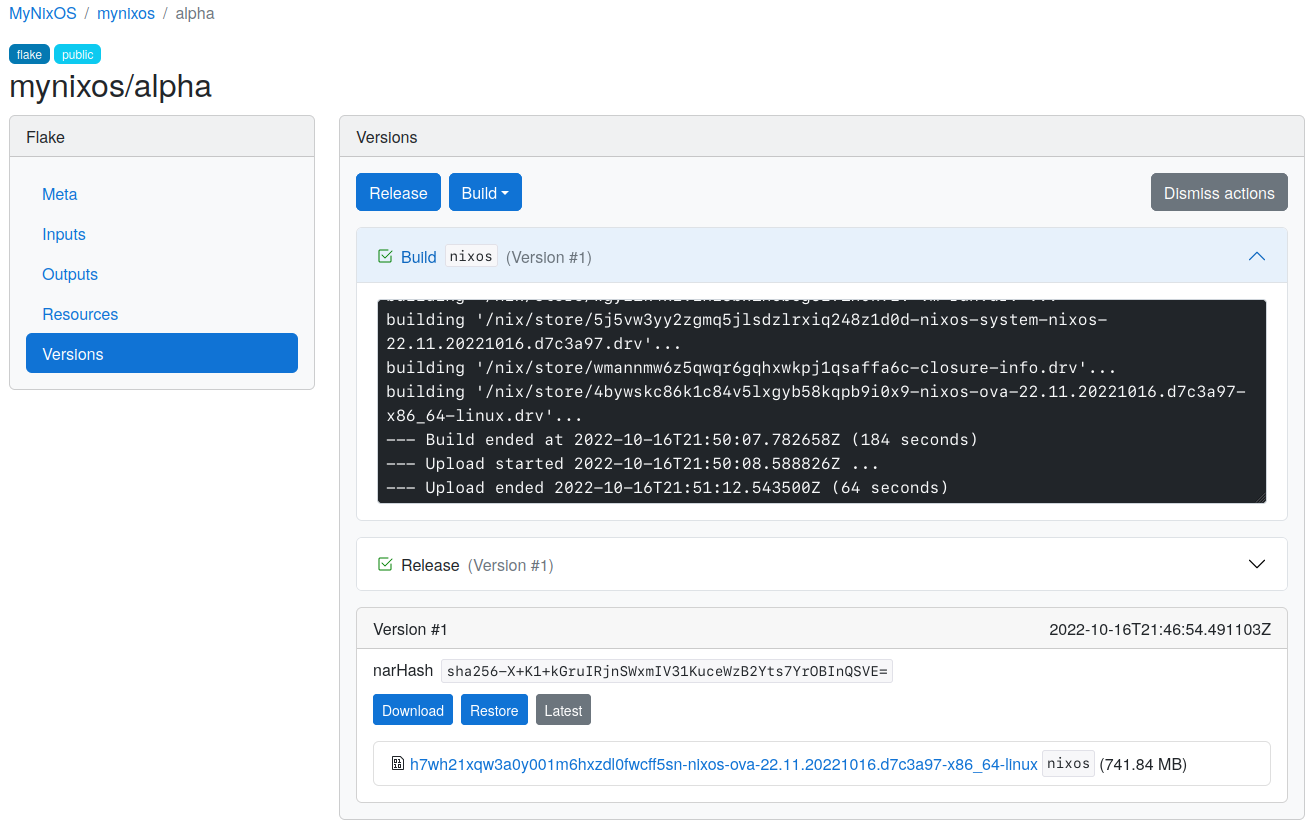
- Navigate to the flake versions screen (Click the flake selector, then select "Versions").
- Click "Release" to create a version of your flake (Learn about releases)
When the release is ready, a new version entry appears in the listing on the flake versions page. - Click "Build" → "nixos" to start a build of your NixOS generate.
When the build is completed, a link to download the NixOS generate artifact will appear with the released flake version. - Click the artifact link to download the NixOS generate artifact, then unpack it locally.
Step 5 - Run NixOS generate artifact
To run the VirtualBox artifact created in this example, perform the following:
- Open VirtualBox and select "File" → "Import Appliance".
- Browse and select the OVA-file unpacked from the downloaded artifact.
- Select "Next", then uncheck "USB Controller" if you do not have VirtualBox host extensions installed, then select "Import".
- Press "Start" to boot.
- Log in with username
nixosand passwordnixos.
Congratulations! You are now running a NixOS generate that you have built!
To celebrate, run the nyancat command from your virtual machine terminal.
NixOS generate configuration units may import NixOS modules and Home Manager configurations (see Imports).
NixOS settings may also be directly assigned to NixOS generate outputs (see Options).
It is recommended to use NixOS modules for configuration, then import this module to your NixOS generate output.
